
Wednesday, 22 April 2015
Tuesday, 14 April 2015
Steps for creating Claudia & Quentin's final design
.jpg) |
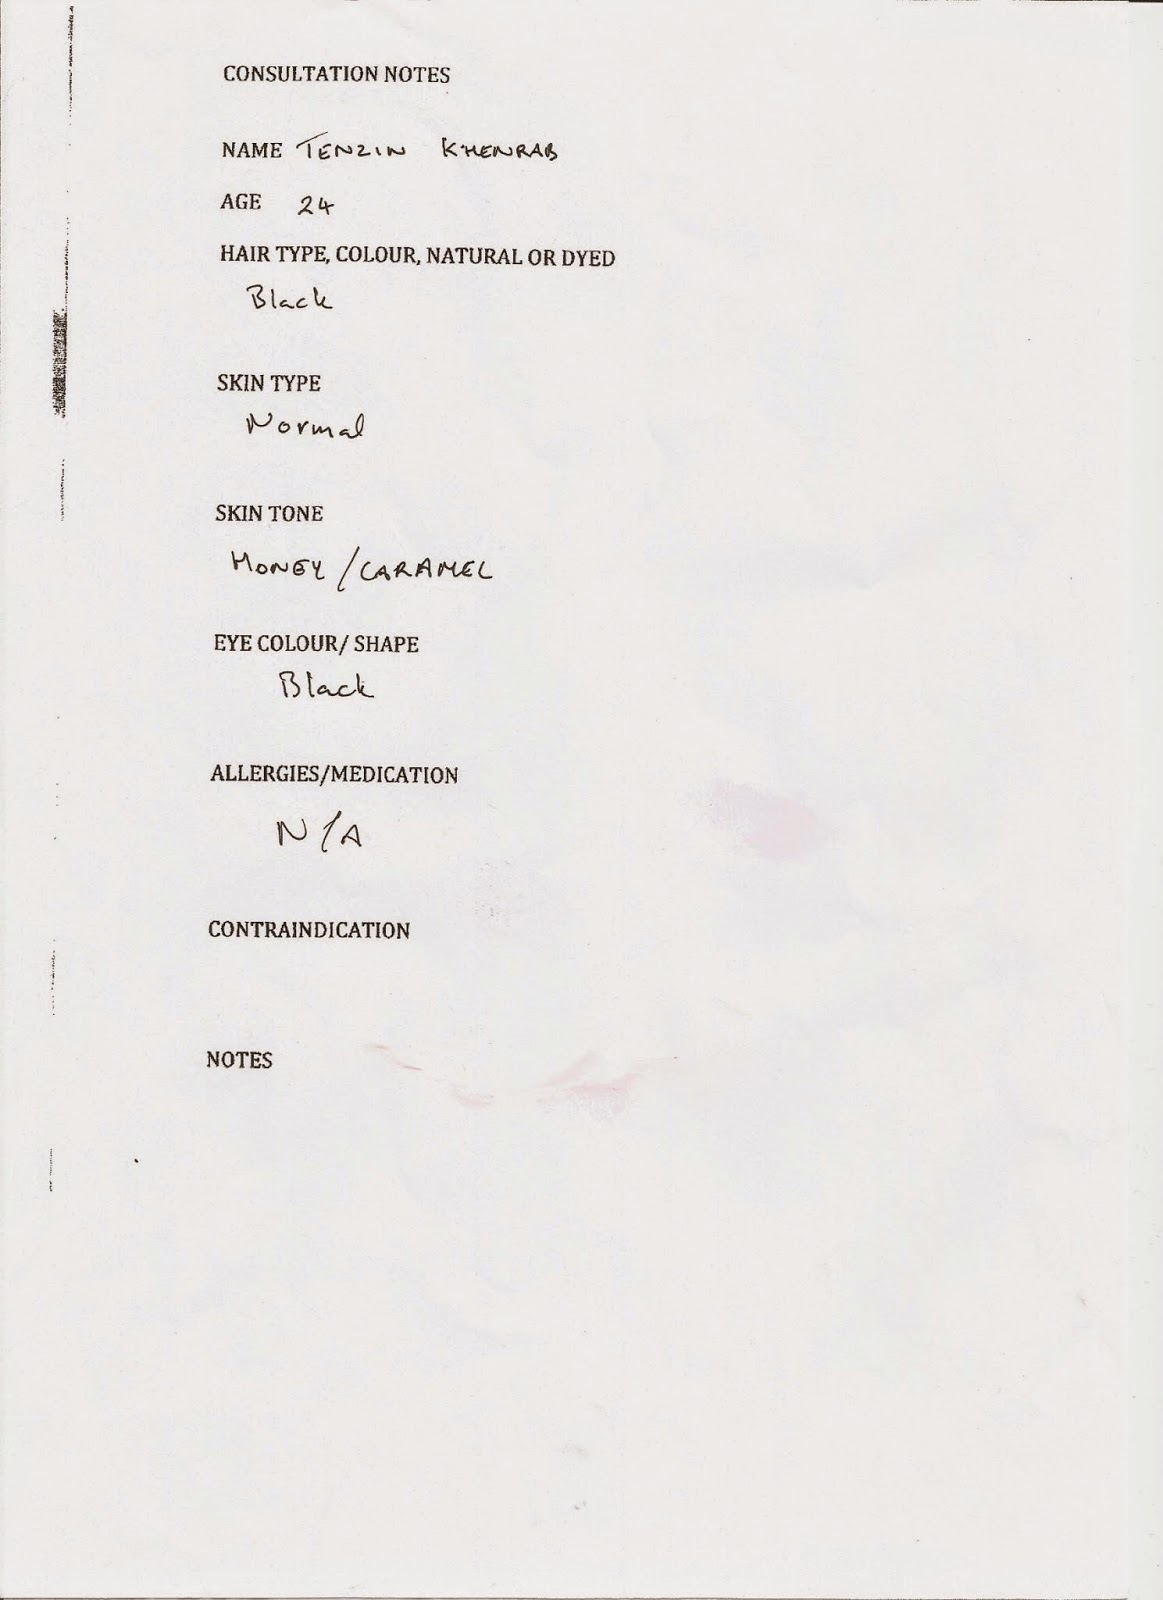
| Model: Shai Rabbani (Claudia) |
.jpg) |
| Model: Tenzin Khenrab (Quentin) |
Equipments:
- Cleanser, toner, moisturizer
- An apron
- Cotton buds
- Cotton pads
- Kryolan FX Blood
- Kryolan supracolor palette
- Kryolan blush palette
- Duo eyelash glue
- Matte primer
- MAC Liquid Foundation
- Kryolan foundation palette (N B4)
- Powder
- A puff
- Fine brushes x 2
- An angle brush
- A contouring brush
- Black threads
- An orange sponge
2. Apply the matte primer on the face.
3. Mix the colour N B4 from the Kryolan foundation palette with MAC Liquid foundation and apply it onto the face. Apply powder onto the face with a puff.
4. Use an angle brush and apply the black eye shadow onto the brows.
5. Apply the dark brown colour contouring from the Kryolan blush palette under the cheekbones.
6. Mix the colour white and black from the Kryolan supracolor palette together to create a dark grey colour. Apply the mixture to the eye bags and inner corner of the eyes to create dark circles effect.
7. Apply some black colour using a fine brush on the place where you stick the black thread (stitches) on and after that use the eyelash glue and stick the threads onto the face.
8. After the eyelash glue dry, stipple some red colour around the stitches and apply some blood around it to create bleeding effect.
9. Use the collection gel liner to draw Claudia's name onto the left forearm.
10. Use an orange sponge and stipple some 079 and 081 from Kryolan supracolor palette to create a new bruise effect.
Quentin's hair design:
Equipments:
- A brush
- Fish Hair gel
2. Get some hair gel into your palm and work it into your hands. After that, run through the hair with your hands and create the style of messy, spiky hair.

 |
| Model: Tenzin Khenrab (Quentin) |
Equipments:
- Cleanser, toner, moisturizer
- Cotton pads
- Cotton buds
- Pritt stick
- Water
- A bowl
- An apron
- A spatula
- Steel palette
- Matte primer
- Powder
- A puff
- Illamasqua white base
- MAC liquid foundation
- Kryolan concealer palette
- Collection black gel liner
- Illamasqua contour palette
- Kryolan blush palette
- Kryolan eye shadow palette
- Kryolan lip palette
- Illamasqua blush palette
- Kryolan supracolor palette
- Kryolan glamour glow eye shadow palette
- Illamasqua netural eye shadow palette
- Foundation brushes
- Fine brushes
- Lip brushes
- Angle brushes
- Eye shadow brushes
- Contouring brushes
- Blush brushes
2. Apply the matte primer on the model's face.
3. Apply the glue on the brow (left) using a spatula and use the finger to press the glue onto the brows. Apply a few more layers until the brow has got a smooth surface and no hair stuck out. Use a baby bud and water to clean the edges.
4. After the glue is dry, apply the white base to the left side of the face. Use a buffing brush to blend the white base evenly. Remember to apply it onto the ears and neck as well. Use the white colour from the supracolour palette to cover more layer on the brows.
5. Then apply powder using a puff onto the left side of the face.
6. For the right side of the face, apply the foundation with a foundation brush and then apply powder using a puff.
7. Use the black pepper colour from the Kryolan eye shadow palette and apply it to the brow on the right with an angle brush.
8. Lid (Right) Apply the pale tan colour from the Kryolan glamour glow eye shadow palette on the lid first and then apply the bronzing sun colour afterwards. Apply the mascara with a disposable mascara onto the eyelashes on the right eye only.
9. (Right face) Apply the brown colour from the Illamasqua contour palette under the cheekbones. Then, use the Illamasqua lover colour blush and apply it to the cheek.
10. (Left face) Apply the black eye shadow from the Illamasqua neutral palette onto the lid and lower lash line. After that apply the purple colour from Kryolan eye shadow palette around the black eye shadow and blend them together.
11. (Left face) Use the collection black gel liner and apply it to the upper and lower lashline, create patterns on the eye bags, draw the patterns on the forehead, around the nose and also the shape of the mouth and the smiling line.
12. (Left face) Apply the black pepper colour from Kryolan eye shadow palette under the cheekbones as contouring and also around the edges of the face as well, including the neck to separate the two side of the face more clearly. Apply the black eye shadow under the patterns on the forehead, around the nose and also under the mouth.
13. (Left face)Apply the youth red colour from the Kryolan blush palette with a blush brush on the cheek and create circle shape.
14. (Left face) Blend the black colour from the patterns on the forehead and the outlines around the mouth.
15. (Left face) Fill in the lips with the LC009 colour from Kryolan lip palette with a lip brush. Then apply the black colour from the Kryolan supracolor palette on the inner lips and blend it a bit. After that apply the white colour from the supracolor palette to the lips as well.
16. (Right face) For the lips, apply the colour LC003 from Kryolan lip palette with a lip brush.
Claudia's hair design:
Equipments:
- A paddle brush, a comb and a tail comb
- Hair spray
- Heat protector
- A hair crimper
- A black hat
- Sectioning clips
2. Section the hair : Create middle parting and after that section the hair and do the crimping process.
3. After finish crimping the hair, use a paddle brush and brush the hair. Backcomb the top part of the hair.
4. Put the black hat on the model.

 |
| Model: Shai Rabbani |
.jpg&container=blogger&gadget=a&rewriteMime=image%2F*)
Friday, 27 March 2015
Contemporary Victorian Hairstyles inspired by American Horror Story Series
Equipments:
- A comb, a paddle brush, a tail comb, a wide tooth comb
- Hair tongs
- Sectioning clips
- Hair pins
- Bobby pins


Step 2: Divide the hair into a side parting. After that, divide the hair into front and back sections (the back sections start from the ears.
Step 3: The front section: For the side parting part, create 2 curls on top and make sure when u curl them, pull the hair up and roll into the hair tong nice and tight. The curls should roll in the and follow the direction of the side parting. To remove the hair tong from the hair, turn the tong slightly and carefully remove it. After curling the hair, use hair pins to secure the curls on the hair.
Step 4: For the hair below the three curls on the top, you can create one or two curls. But this time, the curl will roll towards the face and when curling the hair, remember to forward the hair away from the face and then roll the hair into the hair tong. This will help the top part of the hair look nicer and more tight. Do the same for the other side of the front section as well, remember when curling the hair, the curl should roll towards the face.
Step 5: For the back section, start from the crown area and create curls ( the curls should lie horizontally). Then, secure the shape with hair pins.
 |
| http://31.media.tumblr.com/02c164601fe735ba877e0948c99766be/tumblr_mgds3gRU5u1rues1oo1_250.png |
 |
| http://i.ytimg.com/vi/fJqEKYb-5FM/maxresdefault.jpg |


Step 2: Use the wide tooth comb because you don't want to pull out the curls and carefully comb the top part of the hair. It helps to bring the hair together and also makes the hair look more volume and don't look flat.
Step 3: Take a piece of hair on the side and roll the hair. Secure the front part of the hair with bobby pins and use a hair pins to secure the back part (lift the pin up and bring down). Do the same on the other side as well.
Step 4: Loose the front part of the hair a bit and then pin the curls. Use the bobby pins to pin down the area where the curls will not fell and then use a hair pin to secure the curl. During the lesson, I have joined the three curls together, but you can do it separately and pin them down individually.
Hairstyle 2:
 |
| https://s-media-cache-ak0.pinimg.com/236x/8c/fb/67/8cfb67b288f05862301fe2ab850a1a82.jpg |


Step 2: Use the paddle brush and take a section of hair into your hands. Bring the brush underneath and over the top so to create a nice wave shape. For the front part of the hair, you can use hair spray to fix the shape and it will create a nice curve of hair.
Hairstyle 3:
 |
| http://static.socialitelife.com/uploads/2011/11/alexandra-breckenridge-crack-11082011-05-675x900.jpg |


Step 1: In order to create hairstyle 3, after you have brushed through the hair, like hairstyle 2, shake the head and hairstyle three is done! You can use the wide tooth comb to lift up the hair at the front a bit so to make the hair look more volume.
Thoughts about the lesson:
In this lesson, I've learnt the importance of positioning the curls and the direction how you curl the hair affects what the hairstyle will look like at the end. I'm appreciate with the hairstyles that I've done during lesson and in order to improve next time, for hairstyle 2, I should brush the end part a bit more so to make it look more neat and create a nicer wave hairstyle.
Wednesday, 25 March 2015
Dark eyes and lips

 |
| Model: Harriet Saloway |
Equipments:
- Cleanser, toner, moisturizer
- An apron
- Eye shadow colour used - Vanilla ,Brown, Black colour
- Black eyeliner
- Lip pencil liner
- A lipstick
- A lip brush
- Eye shadow brushes
- An angle brush
- Mascara
- Disposable mascara
2: Start with applying the lightest colour of eye shadow (Vanilla) colour on the whole eyelids first.
3: Then, Apply the brown eye shadow on the eyelid. Use a clean eye shadow brush to blend out the edges.
4: Use the black eye shadow and apply it on the outer lid and lower lash line. Use a clean eye shadow brush to blend the edges of the black eye shadow and also allow the black colour blend with the brown colour.
5: Apply the black eyeliner on the upper and lower lash line.
6: Apply the mascara with a disposable mascara.
7: For the lips, use a lip pencil liner first to outline the shape and it helps to make the lip shape more clearly seen. Then, apply the lipstick on the lips.
 |
| http://www.thefashionspot.com/images/tfs2010/2012/March/strong-eyes.jpg |
Step 1: Apply the black eye shadow on the eyelid and after that, blend out the edges with a clean eye shadow brush to create the smoky eyes effect.
Step 2: In order to create bold black smokey eyes, I have built up more layers of black eye shadow and blend out the edges again.


I have created a dramatic, bold black smokey eyes makeup look and on above are the photos taken after I've finished the look.
At home, I have practiced the black smokey eyes on myself this time.
Equipments:
- Cleanse, toner, moisturizer
- An apron
- Illamasqua eye shadow palette
- MAC mixing medium gel
- MAC Black lip mix
- Eye shadow brushes
- Angle brushes
- A lip brush


As for my Claudia's design, I have decided to use clown for my character ideas, I have found a black and white photo from the Internet of a clown because I want to practice creating shapes around the eyes and also it allows me to practice more of how to create a clown makeup.
The reason I choose this photo is because I like the shape around the eyes of the clown in the photo.


For the right hand side, I have only used black eye shadow to create the shape and also I have used an eye shadow brush to soften out the edges.
Dark Lips:
For the dark lips, I have used the black lip mix with an angle brush to line out the edges first. After that, I have filled in the lips with the black lip mix.
In order to improve next time, for the eye makeup on the right, I should draw the shape bigger so as to balance the two side. Also, I can blend out the edges a bit more so to create a more softer texture.
Thursday, 19 March 2015
Creating light scars using moulds
By using a mould, it is especially useful for continuity work as you can use the same mould and create the same shape each time. To make a scar from the mould, first, you will need to spray the petrolease release spray onto the mould. Then, use the silicone (you can mix some colour pigment onto the silicone so to make it matches the skin tone) and pour it into the mould and then wait for it to dry. After that, remove it from the mould carefully.
Equipments:
2) Then, after the pros-aide gets tacky and clear, stick the mould and use your hands to press it onto the skin.
3) After that, use the witch hazel and rub it onto the edges of the mould with a baby bud in backwards and forwards motion in order to smoothen and blend out the edges.
4) Apply loose powder onto the mould to reduce shine.
5) Use a foundation colour which is suitable and matches your model's skin tone.
6) Use the red colours from the supracolor palette and apply it onto the mould to create blood effects.
7) Apply the wound filler onto the middle of the mould.
8) After that, apply some blood onto and around the mould to create bleeding effects and make the scar more realistic.

 Remember in order to remove pros-aide from the skin, you will need to use the pro-clean cleansing oil.


Equipments:
- Baby buds
- A fine brush
- A spatula
- Wound filler
- Blood
- A scar mould
- Witch hazel
- Pros-aide
- Loose powder
- A puff
- Foundation palette
- Supracolor palette
- Orange stipple sponge
2) Then, after the pros-aide gets tacky and clear, stick the mould and use your hands to press it onto the skin.
3) After that, use the witch hazel and rub it onto the edges of the mould with a baby bud in backwards and forwards motion in order to smoothen and blend out the edges.
4) Apply loose powder onto the mould to reduce shine.
5) Use a foundation colour which is suitable and matches your model's skin tone.
6) Use the red colours from the supracolor palette and apply it onto the mould to create blood effects.
7) Apply the wound filler onto the middle of the mould.
8) After that, apply some blood onto and around the mould to create bleeding effects and make the scar more realistic.
- Fixing spray - use it before putting the blood and it helps to make the colours stay longer.
The pro-aide is like a glue and it helps to stick prosthetic products onto the skin.
Pros-aide and Petrolease release spray
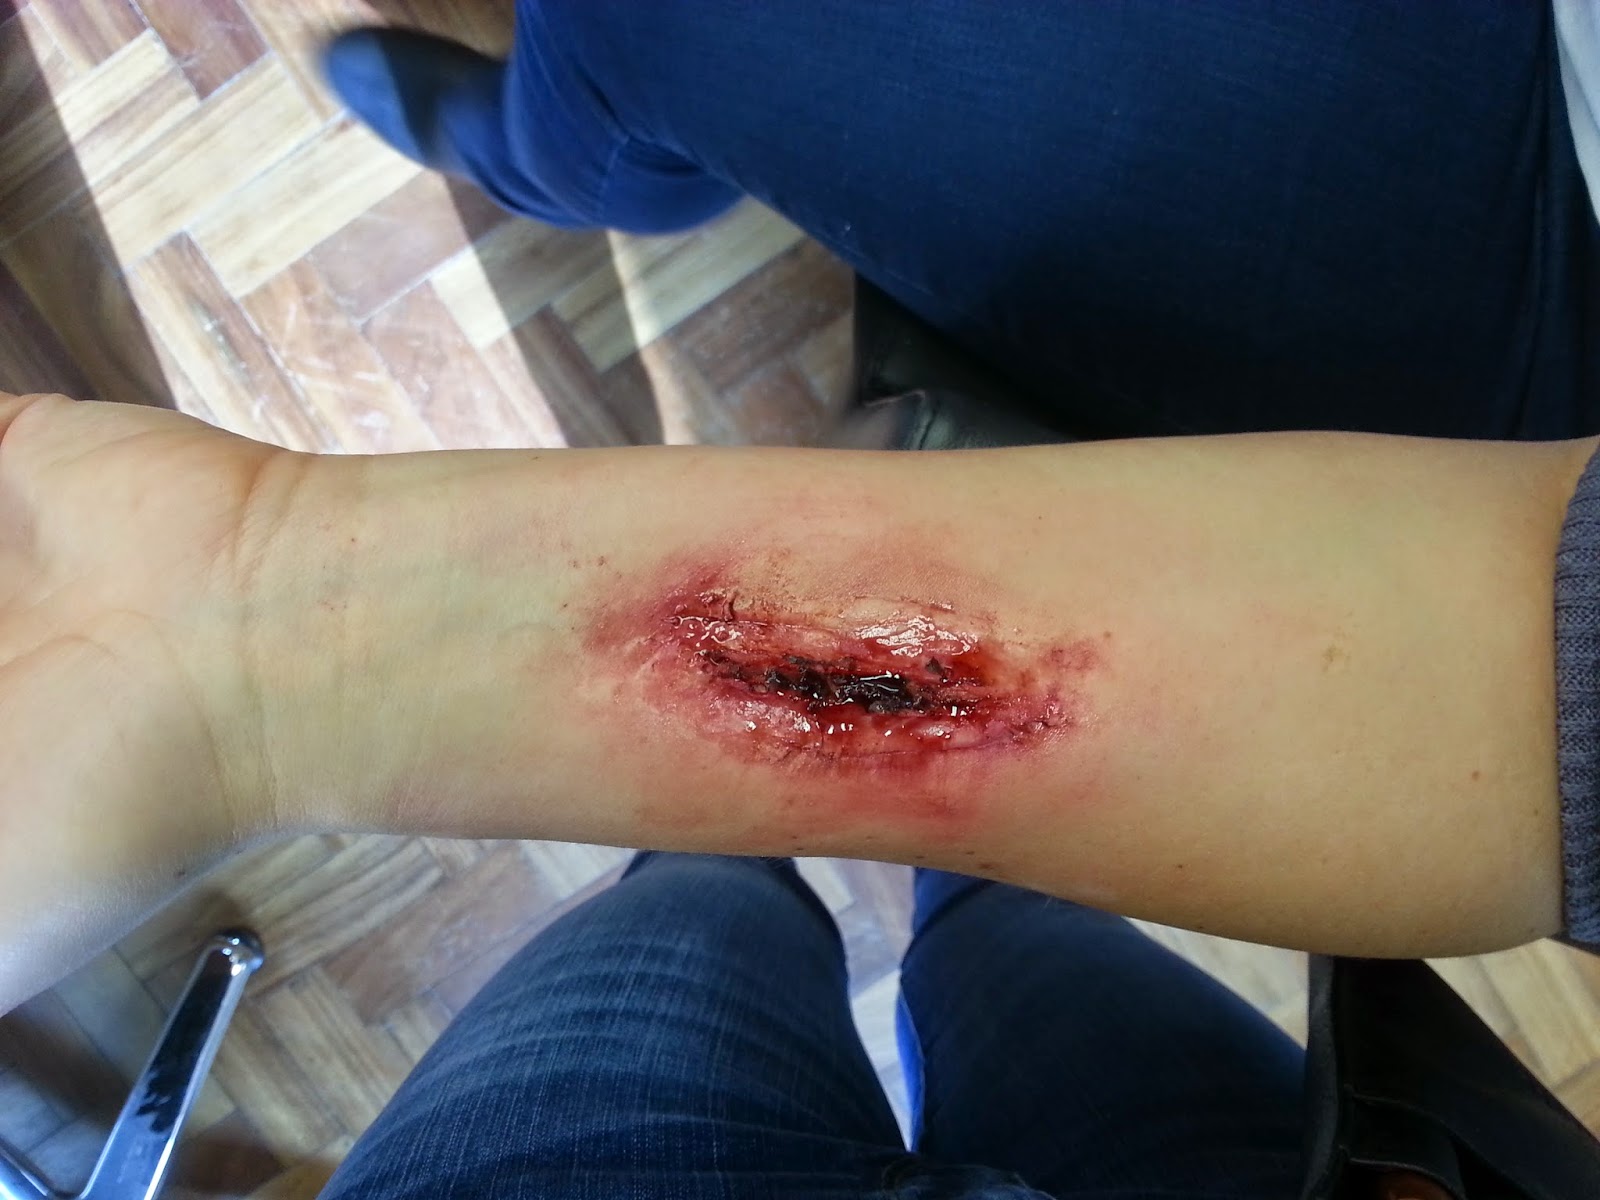
Creating light scars using mould in lesson:
On above, I have done a scar makeup on my friend's hand using the mould and I'm pleased with the results of how it looks. I found the most difficult part is to blend the edges of the mould onto the skin using baby bud and witch hazel as for this time, I should have cut the edges of the mould a bit more. I really like the effects of the blood which creates a bit shine on the scar and also the wound filler because of how they make the scar look more realistic.
Friday, 13 March 2015
Miss Havisham's Continuity Assessment
On below are the photos taken on the first assessment day of my final Miss Havisham design.
 |
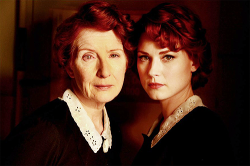
| Model : Lilianna Jaroszewska |


2nd assessment


Comparing to the first assessment, I found out that the hair on the top of the second assessment are whiter as I've put too much baby powder on the top. Also, the dark circles and the red colours of the dry skin are lighter in tones on the second assessment while the first assessment are more bolder. The texture of the hair looks different and I think is because during the second assessment, the hair is more oily than the first assessment and so the hair looks flatter than the first one. The lighting on both assessment are different, so the colours on the skin might look a little bit different as well. But overall, I'm pleased with both assessments and I've learnt the importance of creating and doing continuity work throughout this project.
Subscribe to:
Posts (Atom)